

To make App Store screenshots, capture five to eight real screens of your app, place each one on a 1290 × 2796 canvas inside an iPhone frame, add a short headline above it, and export JPEGs at exactly that size. That size covers the 6.9 inch iPhone slot, and Apple scales it down for smaller phones. Below is the whole process in DudeShots, plus what to put on each screen so the set reads well in search results.
Before you start: the sizes Apple accepts
Apple sorts screenshots by display size, and you only have to supply the biggest one for each device family. These are the figures from Apple's own screenshot specifications in App Store Connect:
| Display | Portrait sizes accepted | Needed? |
|---|---|---|
| 6.9" iPhone | 1260 × 2736, 1290 × 2796 or 1320 × 2868 | Yes, if the app runs on iPhone (or supply 6.5") |
| 6.5" iPhone | 1242 × 2688 or 1284 × 2778 | Only if you skip 6.9" |
| 13" iPad | 2048 × 2732 or 2064 × 2752 | Yes, if the app runs on iPad |
Every file must be PNG or JPEG with no alpha channel, and you can upload 1 to 10 per display size. Landscape is the same pixels turned on their side. The full list, including Google Play, is in our App Store and Google Play screenshot sizes guide. Apple changes these from time to time, so glance at App Store Connect before you upload.
Step 1: capture clean screens
Everything else depends on the raw captures, so take them carefully. Use the Simulator in Xcode or a real iPhone, and set up each screen before you press the shutter:
- Fill the app with believable data. Real names, sensible numbers, no "Lorem ipsum" and no test accounts.
- Tidy the status bar. Full battery, full signal, a round time. In the Simulator,
xcrun simctl status_bar booted override --time 9:41does it. - One idea per screen. Pick the screens that show a result (a finished plan, a filled chart), not settings pages or empty states.
- Capture on a big phone. A 6.9 inch device gives you a screenshot close to the final size, so nothing gets blown up.
Step 2: set the canvas to 1290 × 2796
Open the studio and drop all your screens in at once (or paste each one with Ctrl+V). They line up in the strip along the top. Then open Size and, under App Stores, pick iPhone 6.7", which is 1290 × 2796. The same group has iPhone 6.5" (1242 × 2688) and iPad Pro 12.9" (2048 × 2732) for the other slots, plus Android Phone and Play Feature Graphic if you are doing Google Play too.
Set the size first. The device, the backdrop and any text all place themselves relative to the canvas, so changing it later means nudging things again.
Step 3: frame each screen in a phone
In Device, pick Phone and choose the model. iPhone 18 Pro Max and iPhone Air suit a 6.9 inch set; there are Galaxy and Pixel models for Play. A flat frame is free. On Pro, switch to 3D and drag on the canvas to turn the phone a little, which adds depth without hiding the screen. The iPhone mockup generator page shows every model.
Leave room above the phone for the headline. Around a third of the canvas is about right: the phone can bleed off the bottom edge, since shoppers care about the top of the screen.
Step 4: write one headline per screen
Open Callouts and add a Headline. It has a big title and a smaller line under it; drag it above the phone and double-click to type. Some rules that hold up across the best listings:
- Lead with the benefit. "Plan a week of meals in a minute" beats "Meal planner".
- Keep it to about six words. In search results each screenshot shows at thumbnail size, so long lines turn into grey mush.
- Match the screen. The headline explains what the screen under it is showing, nothing else.
- Make the first screen the pitch. It is the one most people see. Say what the app is for, not what it is called.
Headline, Tape sticker and Note with an arrow are free. Badge, Big number, Chat bubble, the hand-drawn Ring and Tooltip are Pro, and useful for a rating or a quote on a later screen.
Step 5: give the set one backdrop
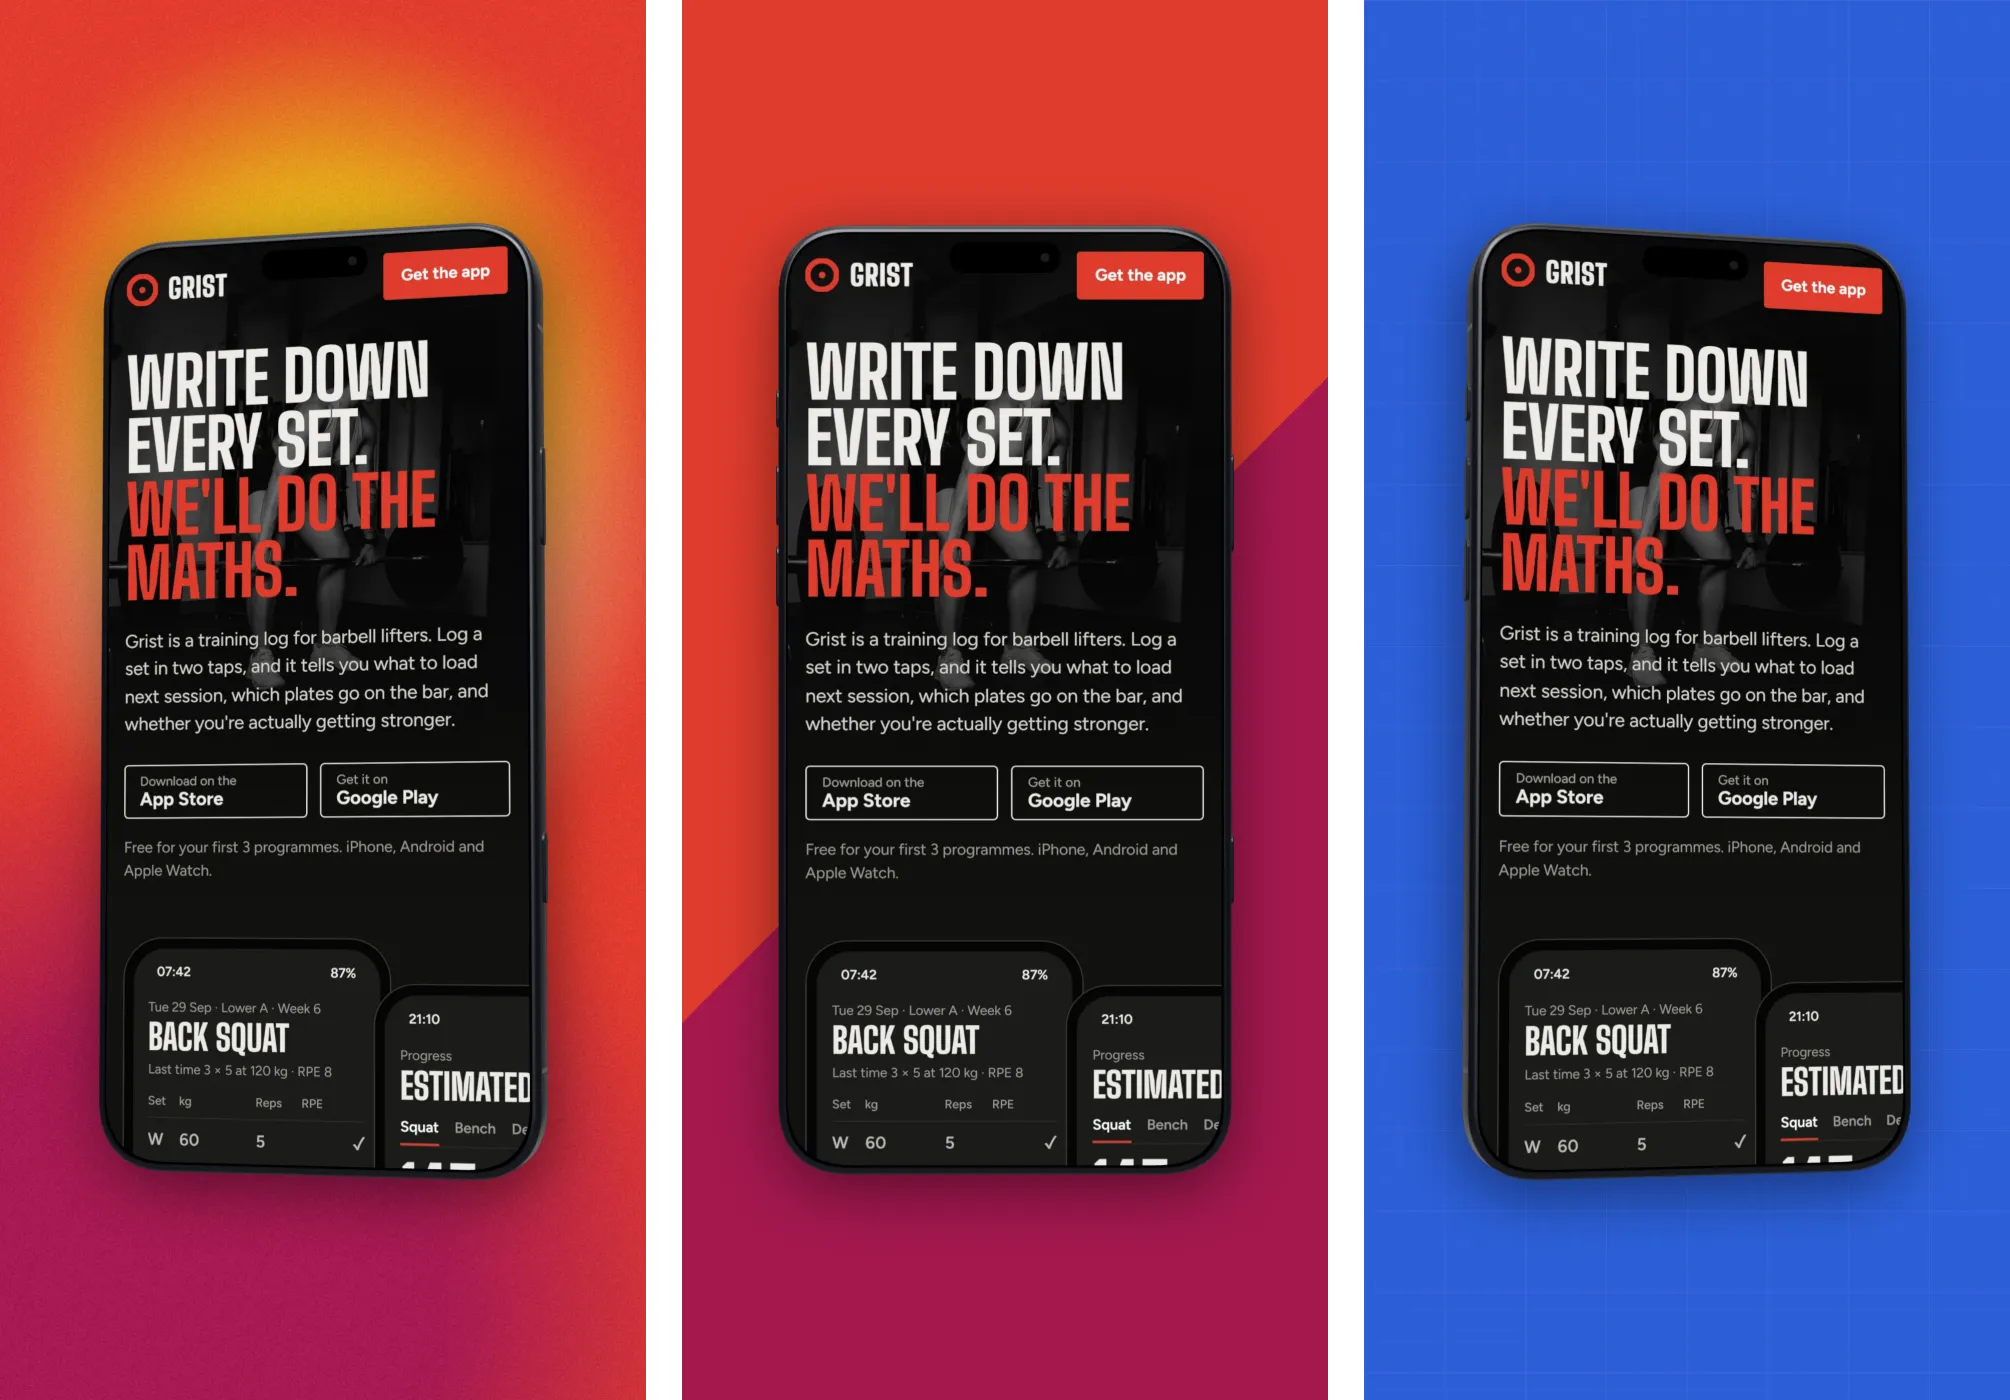
A set looks designed when every screen shares a colour system. In Backdrop, start with Colours: DudeShots reads your screenshot and offers its own brand colours as chips, so the backdrop matches the app without any hex codes. Then pick a style. You can keep the same style on every screen, or change the style and keep the colours, as the Grist set above does.
Once one screen looks right, save it with Presets so you can come back to the same look later. The first three presets are free.
Step 6: swap screens and export
Now the quick part. Click the next screen in the strip along the top: the device, backdrop and headline stay where they are and only the screenshot changes. Retype the headline for that screen and export. Repeat for each one.
In Export, use these settings for App Store Connect:
- Format: JPEG. PNG keeps an alpha channel even when nothing is see-through, and App Store Connect can reject it.
- Size: 1×. The file then matches the canvas exactly, 1290 × 2796. At 2× it would be 2580 × 5592, which Apple does not accept.
- Quality: high. Keep it near the top of the slider; the files stay small enough either way.
Doing the iPad set
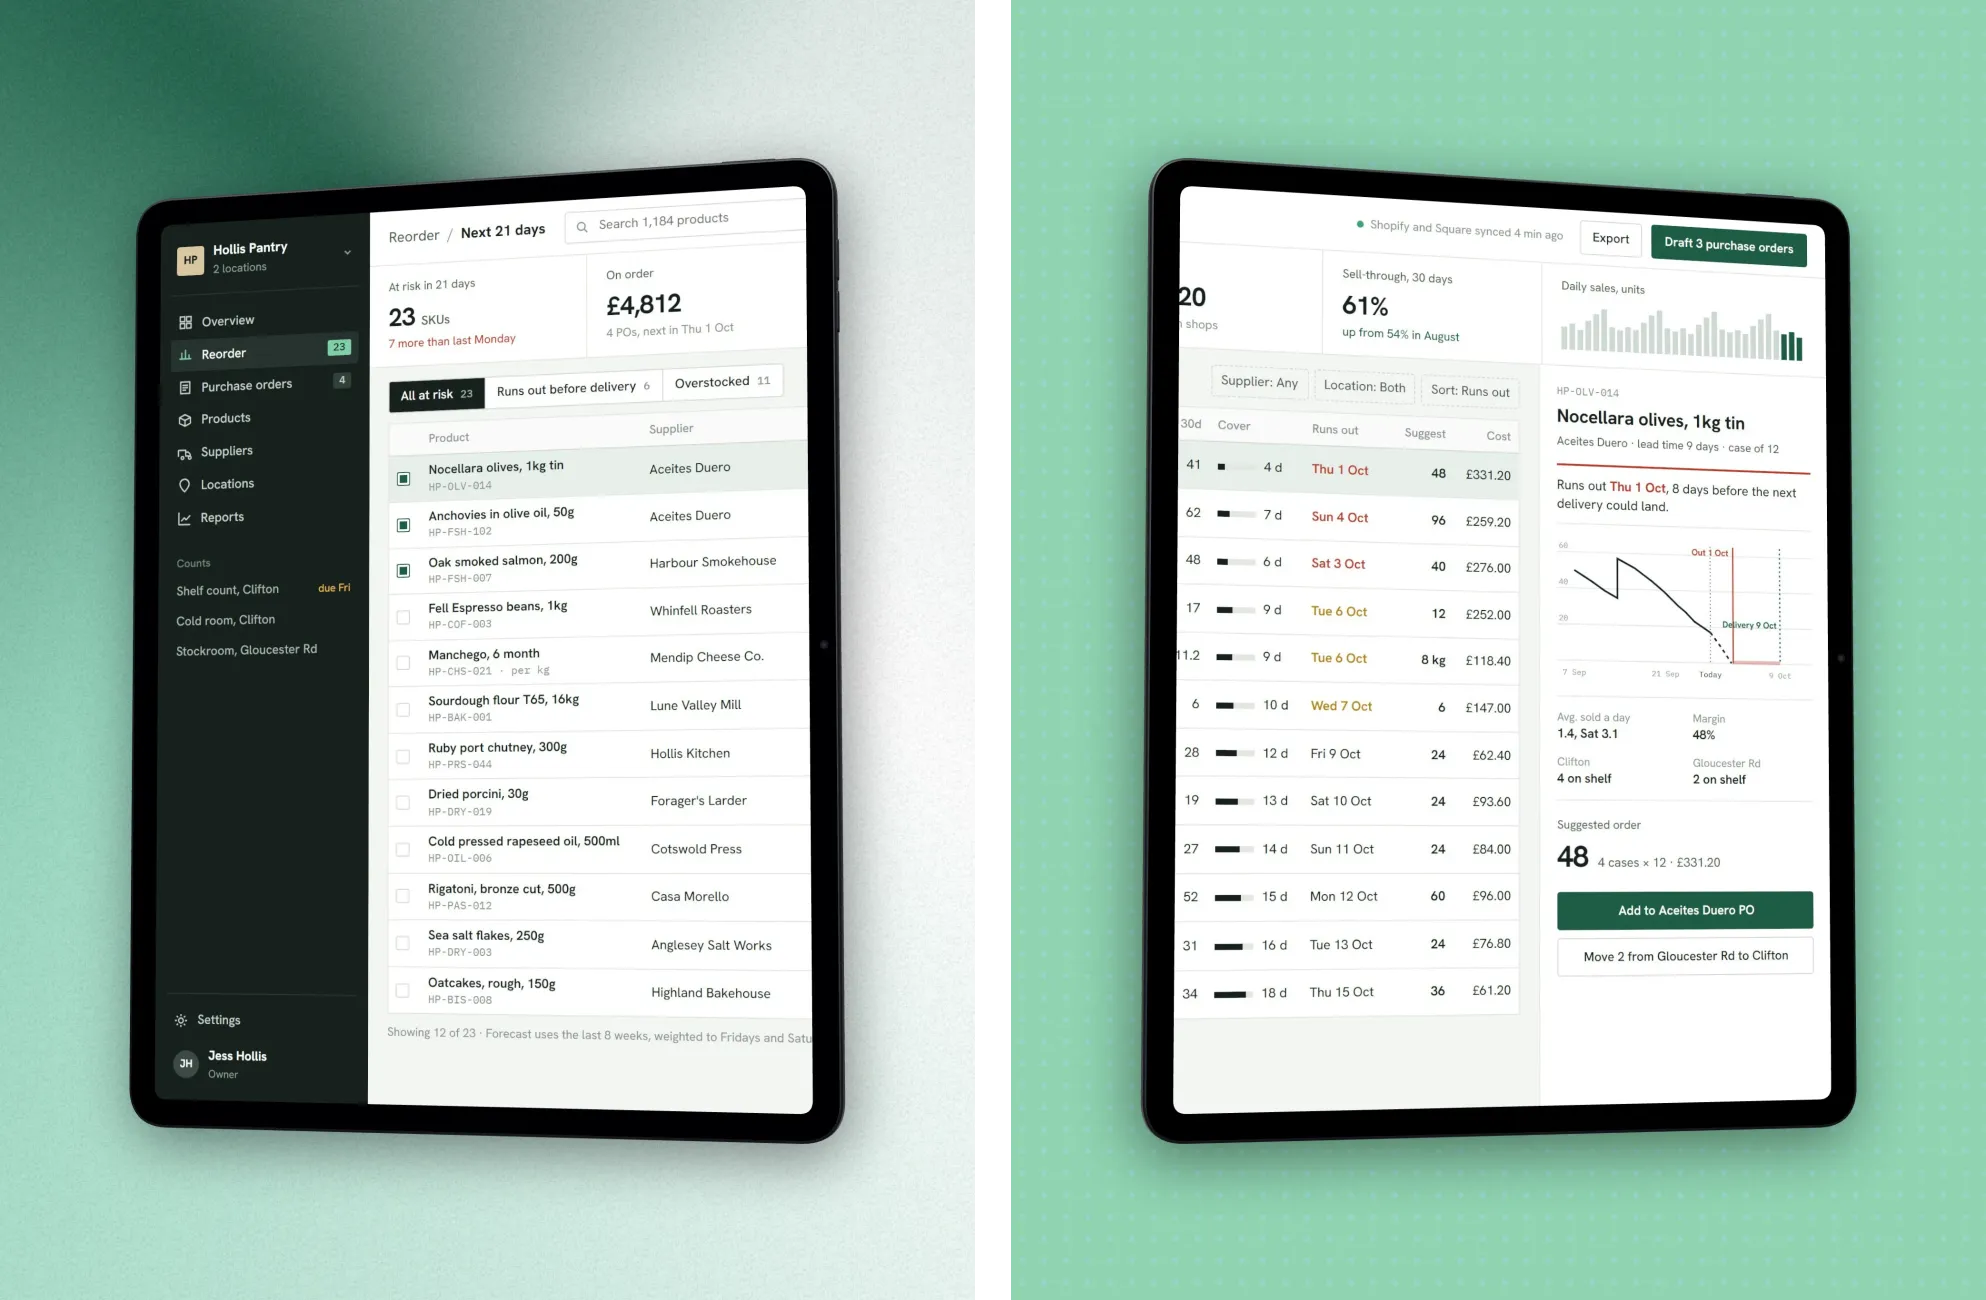
If your app runs on iPad, Apple needs its own set. Switch Size to iPad Pro 12.9" (2048 × 2732), change Device to Tablet and pick an iPad Pro in portrait. Use real iPad captures, not stretched phone screens: reviewers and shoppers both notice. The iPad mockup generator lists every tablet model.
Reusing the set for Google Play
The same screens and headlines work on Play. Set Size to Android Phone (1080 × 1920), change the device to a Galaxy or Pixel, and export JPEG again. Play also wants a 1024 × 500 banner at the top of the listing, covered in our Google Play feature graphic guide.
A running order that works
- The pitch. What the app does, on its best-looking screen.
- The main task. The thing people open the app to do, shown finished.
- The difference. The feature competitors lack.
- Proof. A rating, a number of users, an award, if you have a real one.
- The rest. Widgets, dark mode, sync, one per screen.
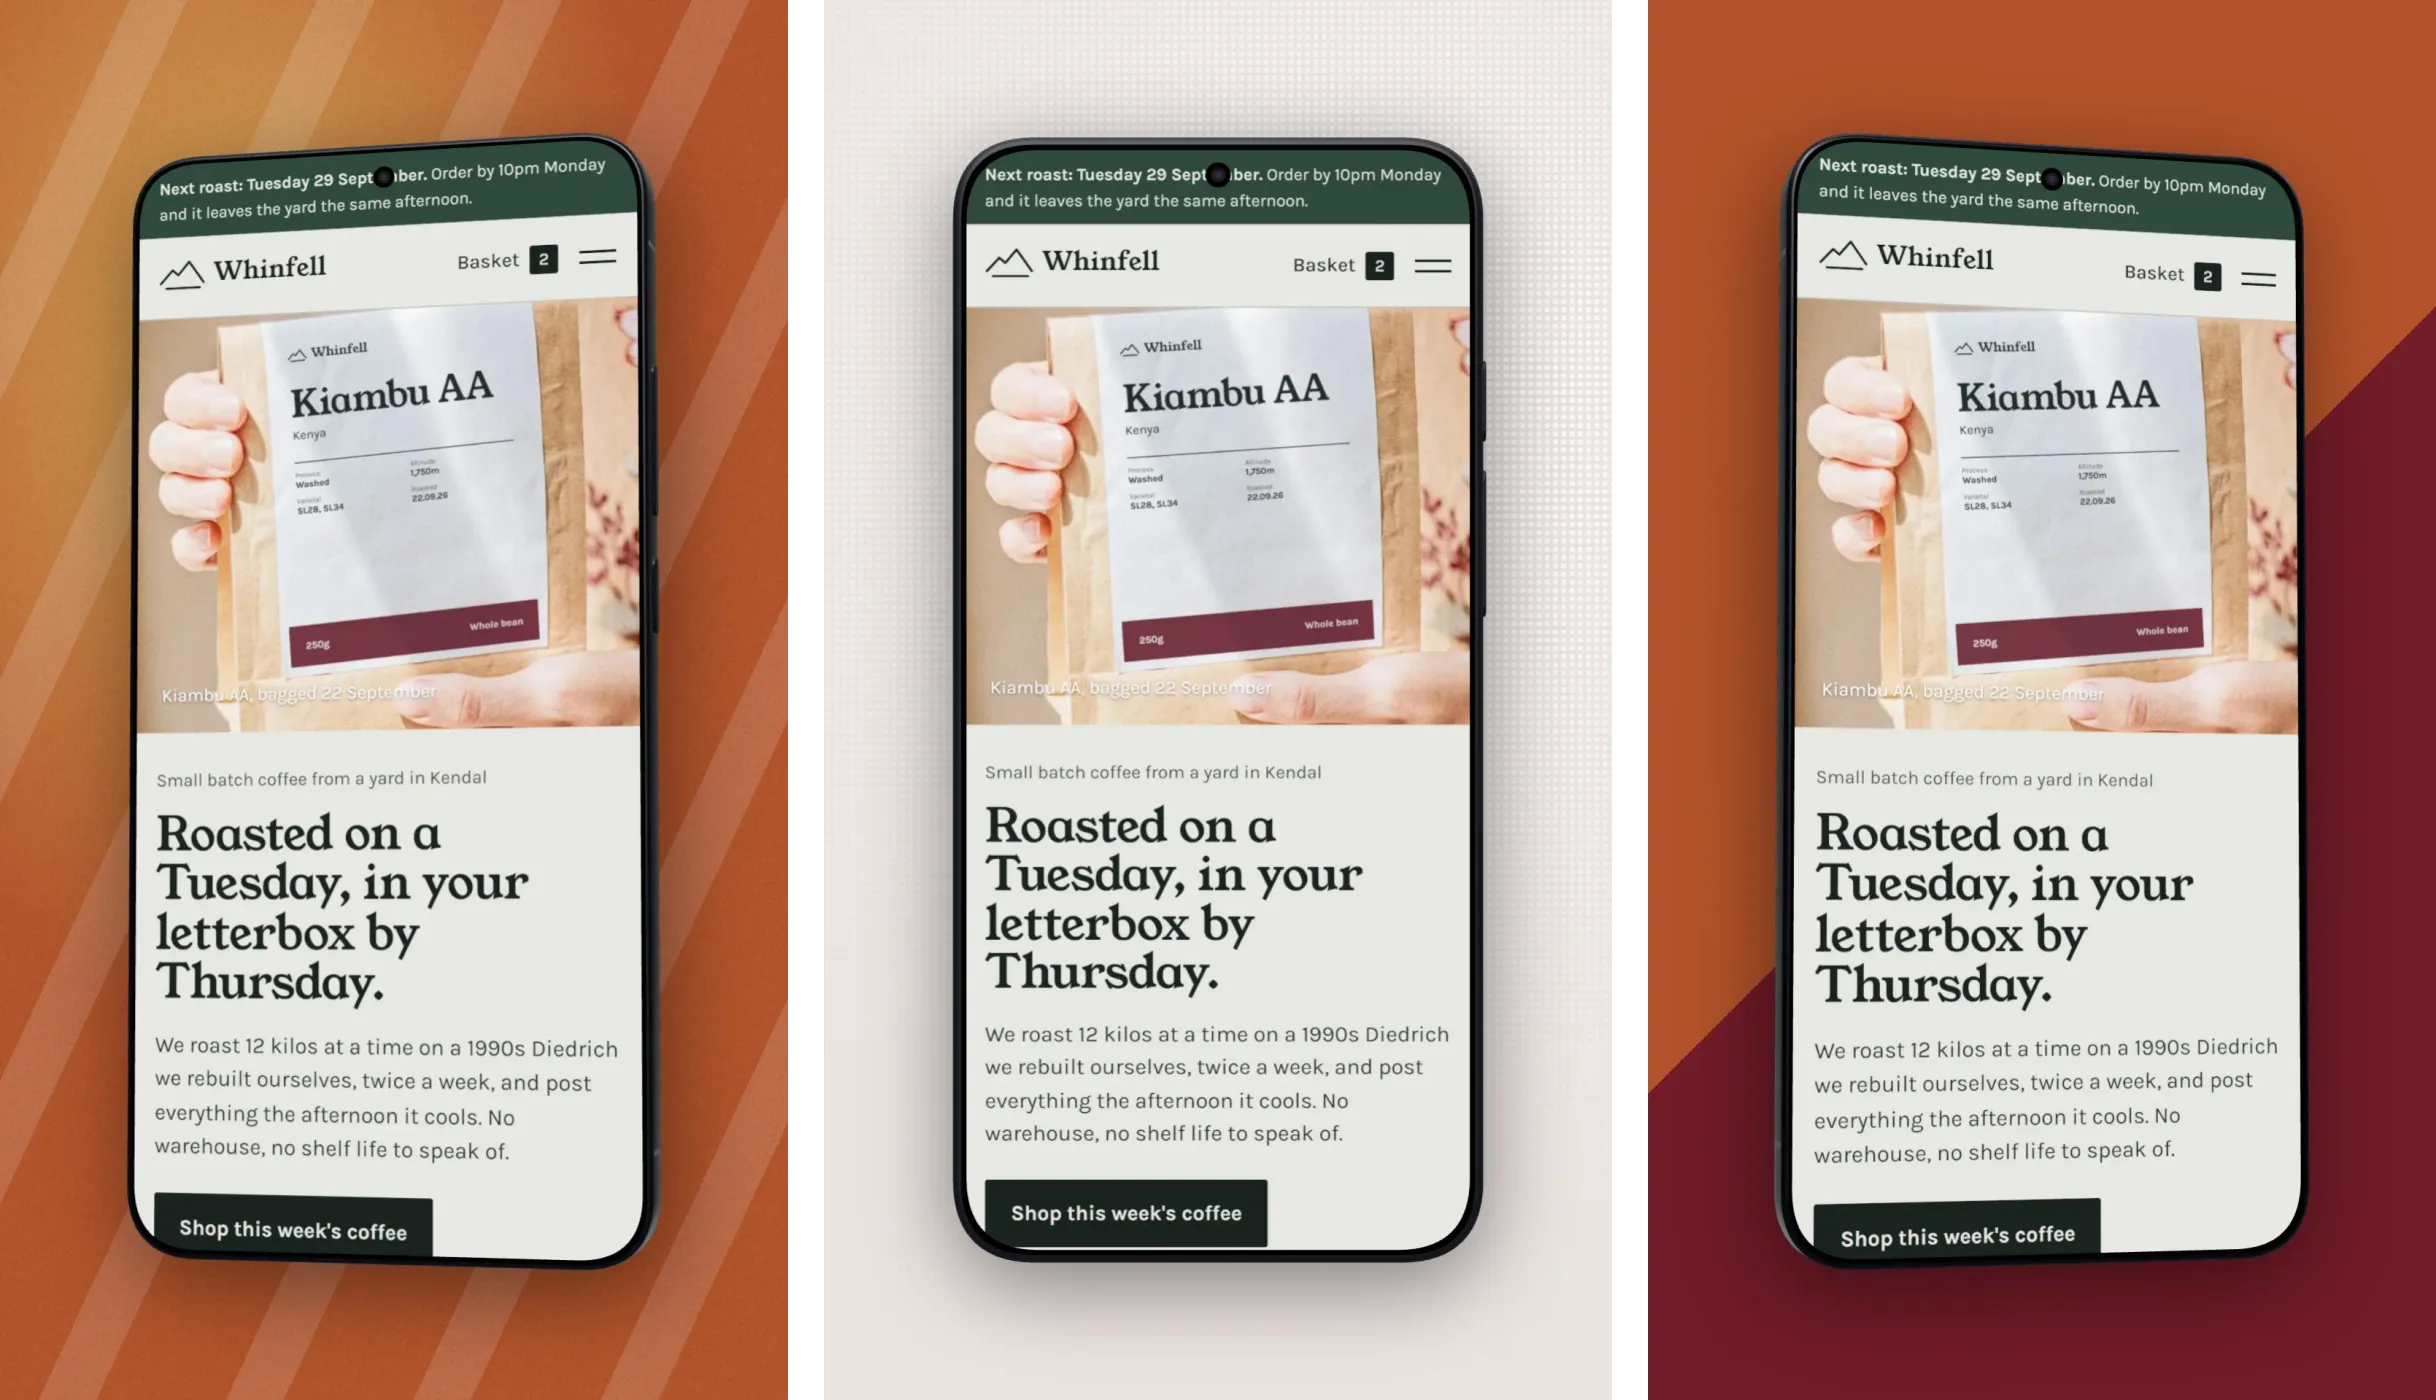
Keep the headlines in the same place and the same size on every screen, so the set scrolls like a single strip. The App Store screenshot generator opens the studio with a phone ready, and pricing has the full list of what is Free and what is Pro.